Creating ashes jewelry is a deeply personal and meaningful way to honor the memory of a loved one, whether they are a beloved pet or a cherished human family member. Ashes jewelry allows you to carry a piece of their essence with you, providing comfort and a tangible connection. In this blog, I will guide you through the steps to create your own ashes jewelry, whether you're making it for yourself or as a gift for someone else.
https://youtu.be/DaHo8NtvkcI?si=QSyIWANe9xPFiP3F
Materials You'll Need
- Ashes: A small amount of ashes from your loved one. Typically, only a teaspoon is needed.
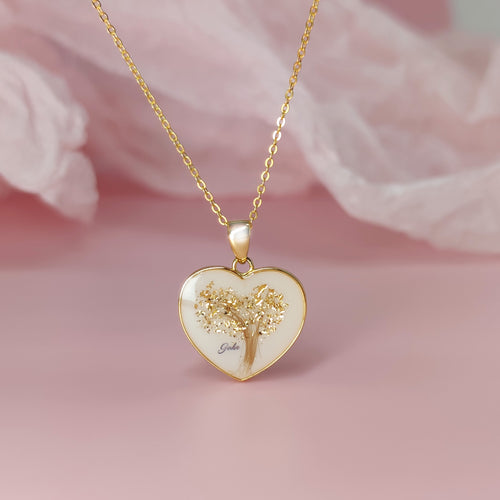
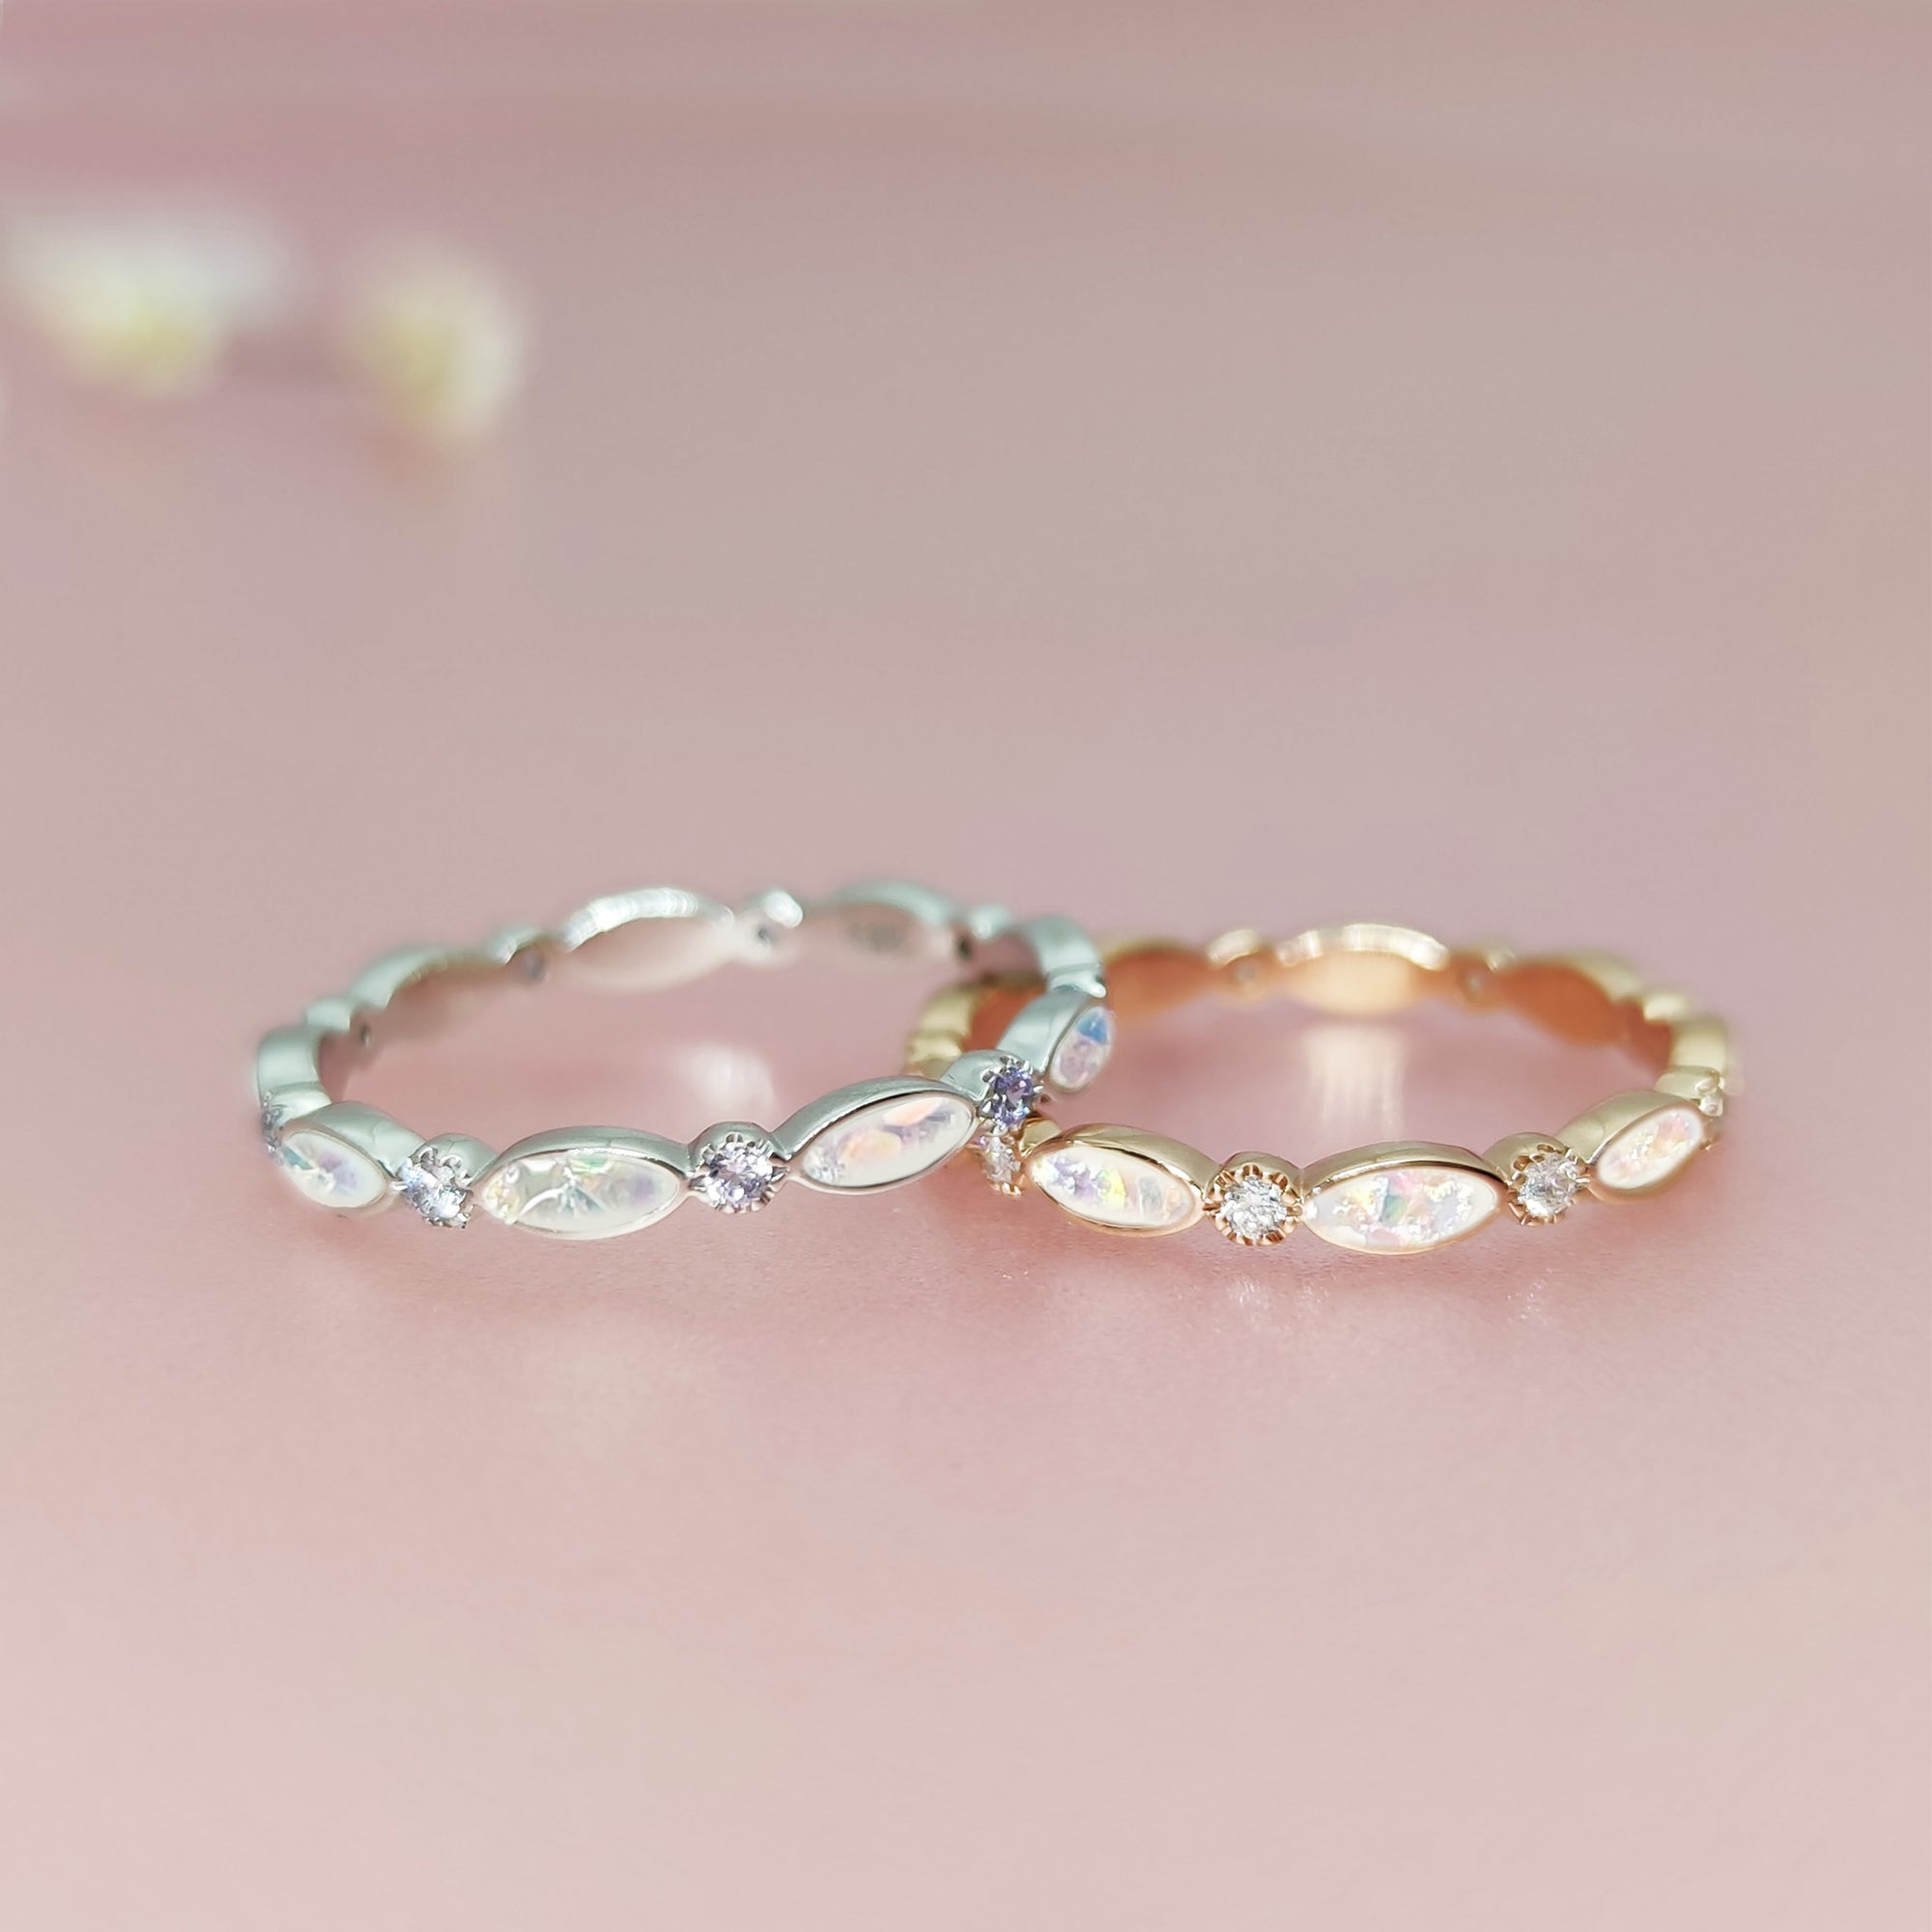
- Jewelry Setting: A pendant, ring, or other jewelry settings designed to hold ashes.
- Resin: High-quality, clear epoxy resin to encapsulate the ashes.
- Mixing Cups and Sticks: For mixing the resin and ashes.
- Pipette or Syringe: To transfer the mixed resin into the jewelry setting.
- Gloves and Protective Gear: To protect your hands and workspace.
- Tweezers: For precise placement of ashes if needed.
- Optional Additions: You can add other elements like dried flowers, glitter, or small gemstones to the resin for a personalized touch.

Step-by-Step Process
Step 1: Prepare Your Workspace
Ensure your workspace is clean, well-lit, and free from dust. Lay down some protective material to catch any spills or debris. Wear gloves to keep your hands safe and prevent contamination of the resin.
Step 2: Measure and Mix the Resin
Follow the instructions provided with your epoxy resin. Typically, you’ll need to mix two parts (a resin and a hardener) together in a mixing cup. Stir the mixture slowly to avoid introducing air bubbles. If you want to add color or other elements like glitter, now is the time to mix them in.
Step 3: Incorporate the Ashes
Once the resin is thoroughly mixed, add a small amount of ashes. Use a mixing stick to gently fold the ashes into the resin. Make sure the ashes are evenly distributed throughout the resin.
Step 4: Fill the Jewelry Setting
Using a pipette or syringe, carefully transfer the resin-ash mixture into your chosen jewelry setting. Fill the setting slowly to avoid air bubbles and ensure an even fill. If your setting has multiple compartments or details, use a toothpick or tweezers to guide the mixture into place.
Step 5: Cure the Resin
Allow the resin to cure according to the manufacturer’s instructions. This typically takes 24-48 hours. Make sure the jewelry is in a dust-free area where it won’t be disturbed during this time.
Step 6: Finishing Touches
Once the resin has fully cured, inspect your jewelry for any rough edges or imperfections. You can sand down any rough spots with fine-grit sandpaper. If desired, apply a clear sealant to give the piece a polished finish.
Step 7: Attach to Jewelry Findings
If your piece isn’t already attached to a chain or ring, now is the time to do so. Use jewelry pliers to securely attach the pendant to a necklace chain, or the decorative piece to a ring base.
Tips for a Personal Touch
- Add a Pop of Color: Mix in colored resin, or include a small amount of glitter that was special to your loved one.
- Embed Personal Items: Consider embedding a small piece of fabric, hair, or a flower petal from a favorite bouquet.
- Engraving: If possible, engrave a name, date, or meaningful quote on the jewelry setting for an extra personal touch.

Conclusion
Creating ashes jewelry is a heartfelt way to keep the memory of a loved one close to you. Whether you're remembering a beloved pet or a human family member, this process can provide comfort and a sense of closeness. By following these steps, you can create a beautiful, custom piece of jewelry that will be cherished for years to come.
If you’re not comfortable making ashes jewelry yourself, many artisans specialize in this craft and can create a custom piece for you. Remember, this process is all about honoring your loved one in a way that feels meaningful to you.

If you'd like to create ashes jewelry yourself, you can order our Ashes DIY kit from our website, which includes all the tools and materials you'll need.